After too many weeks of very hard work and bonkers domestic logistics I was able to snatch a couple of hours to playtest some skirmish rules for massed Zulus attacking plucky British infantry in Rorke's Drift mode. The rules I settled on are entitled 'The Natives are Restless Tonight' and can be found
here. They use a pack of playing cards to determine actions and gave rise to a fast play and atmospheric game.
The scenario was a company of the 24th Foot defending a hastily defended farm complex against waves of attacking Zulus from the Undi Corps, the action notionally taking place at the same time as Rorke's Drift was being attacked.
David took the part of the Zulus, James and Andy the Brits (exhibiting similar command tensions to Chard and Bromhead at Rorke's Drift...) and I umpired. The defenders set up first and the British opted to occupy the buildings and range their men around the stockade with the Gatling Gun emplaced behind sandbags. The British had 5 squads of infantry, each with an officer or NCO and 6 men; plus the Gatling Gun with 4 crew.
 |
| The initial British dispositions |
David diced for his Zulu attackers and got decent numbers appearing on all 4 sides of the square (4'x4') table. A Joker was turned up early which provided another round of reinforcements. True to the spirit of the game, the Zulus launched their attacks with gusto, forcing the defenders to start using their limited ammo to keep them at bay.
 |
| A squad of Zulus charges the Eastern side of the stockade |
 |
| The Gatling Gun (having rotated its field of fire) is rushed anew by the Zulus |
The initial attack from the South was mown down by the Gatling gun, but undeterred, the Zulus came on again, managing to rush the gun and kill 3 of its crew before the Redcoats rallied and drove them off. This left the South and East sides secure, but the Zulus at this point were over the stockade on the West side.
 |
| As the Brits stabilise the South and East perimeter, the Zulus are over the West Wall, Captain Rainforth and what remains of his squad having retreated to the inner barricade |
 |
| Rainforth (the Foundry 'Michael Caine in the film Zulu' model) looks on with icy calm as the Zulus charge across the stockade to the West |
The fighting on the West wall was touch and go, with a large number of Zulus breaking into the enclosure and coming very close to killing Rainforth (having wiped out one of Andy's squads). However, a rapid sally from the building saved Rainforth and killed the remaining attackers.
 |
| Captain Rainforth is backed into a corner as more Brits rush out of the building to drive off the rampaging Zulus. |
Meanwhile, David had been massing Zulus along the North wall and they rushed the Brits in the North-West corner of the stockade. The fighting was touch and go and the Zulus broke in, only to be driven out at bayonet point, the Brits having run out of ammunition.
 |
| Fierce fighting in the North-West corner of the stockade |
 |
| Having broken in, the thin red line holds and the attack is repulsed. |
With no rifle ammunition and just a couple of rounds for the Gatling gun, the situation was looking tricky. Happily and very luckily for the Brits, the relevant Ace was drawn from the deck for the second time, indicating the final arrival of the relief column and victory for the British.
 |
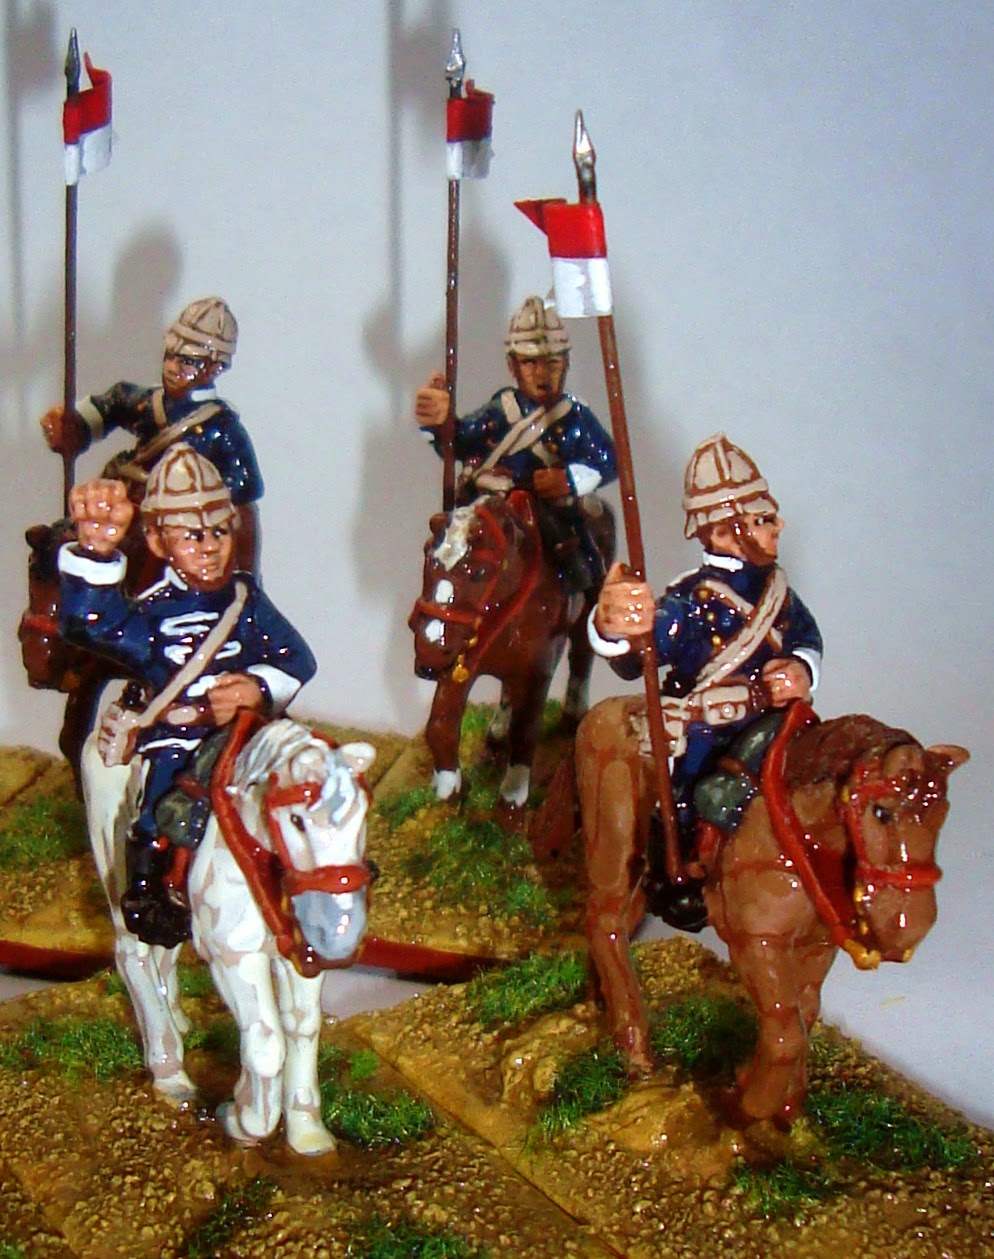
| The (literal) arrival of the Cavalry heralds the relief of the garrison. |
 |
| The 'Survivors Photo'. 39 men started the game, 18 lived to tell the tale... |
Overall we really liked the rule set and will implement a couple of tweaks for next time to randomise a bit more the ammunition supply and the arrival of the relief column. We think though that the scenario is eminently replayable.
I don't as yet have much scenery for the Zulu period. The scratch-built buildings in the photos are more suitable for North Africa than for Natal and the stockade is 15mm Baueda Ancients stuff. But I'm inspired now to scratchbuild some buildings and either sculpt or order some mealie bag barricades.
 |
| "Dont throw those bloody spears at me"... |
James' excellent photos of the game can be seen
here..